How to Host Your First Class on Skite
A live class is one of the best things you can sell as a creator. Your students get you in real time, they learn alongside other people, and you can see whether your teaching is landing.
On Skite, everything for a class lives in one place: the schedule, the live video sessions, the assignments, the grades and the group chat. This guide takes you through the whole journey, from an empty dashboard to your last session.
Step 1: Create your class
Go to Classes in your dashboard and click Create New Class (or Add Class if you already have one). Fill in:
- Class Name: say what students will learn. “Brand Design in 4 Weeks” works better than “Design Class”.
- Description: who it’s for, what they’ll be able to do by the end, and what they need to bring.
- Cover Image: this is the first thing people see on your store (max 5MB).
- Class Type:
- Single for a one-off workshop: pick a date, time and duration.
- Recurring for a course that runs over weeks: choose Weekly (set start and end dates and pick the days, for example every Tuesday and Thursday) or Monthly (pick specific dates in the calendar).
- Duration: 30 minutes or 1 hour per session. All times are in WAT.
- Class Price: Free or Paid, in NGN or USD. You can also show a higher, struck-through original price to highlight a launch discount. It never changes what students pay.
- Students: Unlimited, or Limited if you want a small group.
Click Create Class. Skite gives you a shareable link straight away, and creates a group chat for the class automatically, so you have somewhere to talk to students from day one.
Tip: if this is your first class, start with a short recurring class of 2–4 weeks, with sessions twice a week. It’s long enough to get results and short enough to fill.
Step 2: Share it and get your first students
Copy your class link from the success screen, or later from the ⋯ menu → Copy Class Link. Share it on your socials, in your WhatsApp status, in your newsletter, and anywhere else your audience is.
Students see your class page with the cover, description, price and the date of the next session. They click Reserve your Spot, enter their details and pay (or go straight through if the class is free). They then get an email with a link to their class.
From then on, each student has the class in their Skite dashboard, where they can:
- see every session on a calendar
- open Classwork and submit assignments
- track their grades under Submission
- talk to you and their classmates in the Group Chat
You’ll see each new student under your class’s Students tab, with their email, the date they joined, and later their assignments and grades.
Step 3: Run your first live session
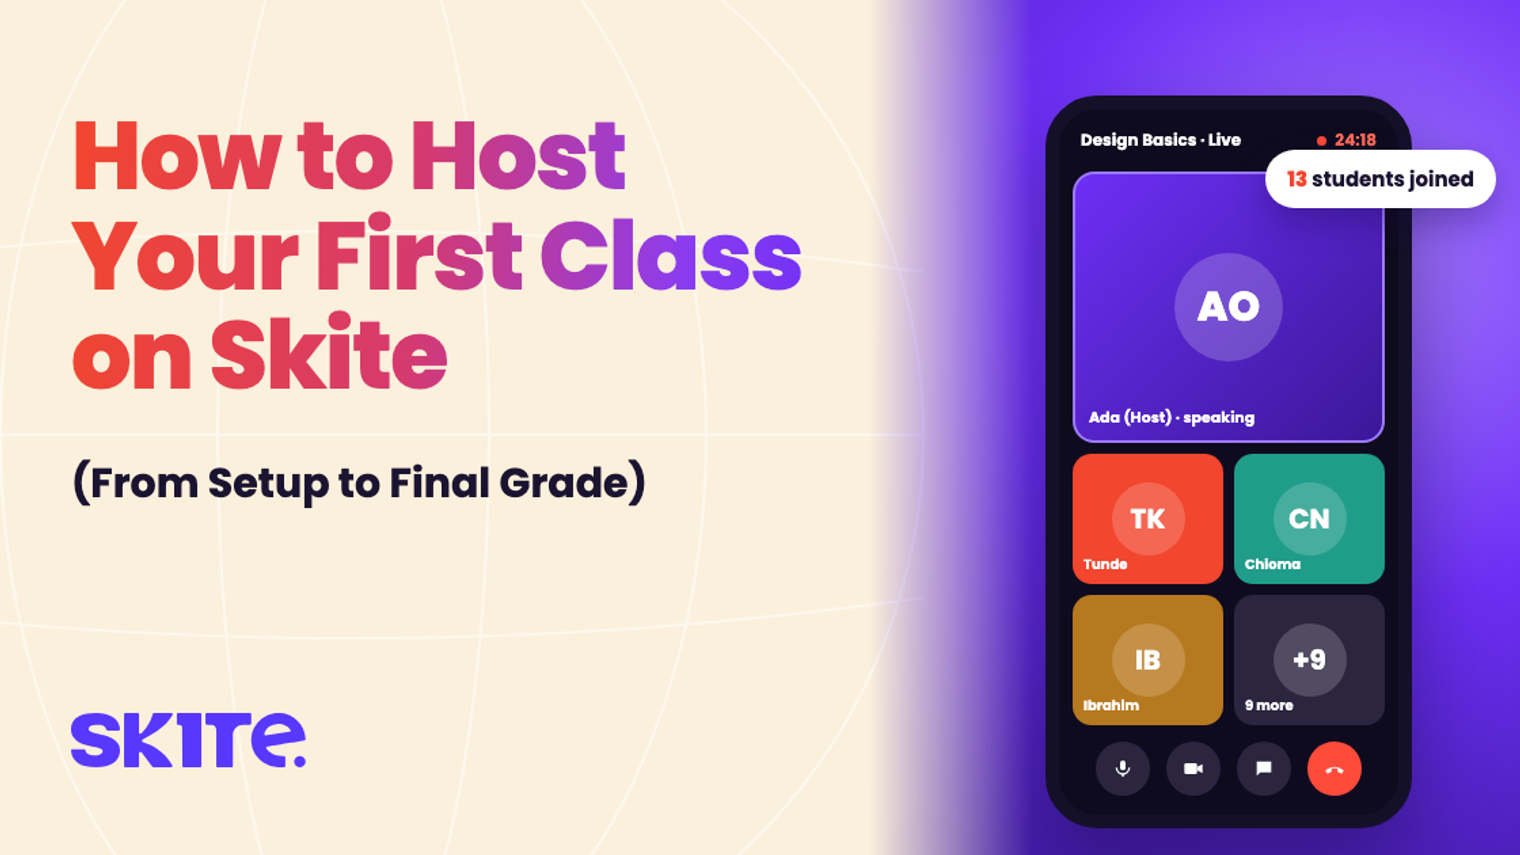
Sessions happen inside Skite, on our built-in video call. There’s no Zoom link to send and no meeting ID to lose.
When it’s time, open the session in your Sessions calendar. As the creator, you can click Start Now to open the room, even a little before the scheduled time. Students click Join Class on the same session. When the call ends, everyone is brought back to the class page.
If plans change:
- Reschedule: open the session’s ⋯ menu, pick a new date and time, and write a short message to your students. Tick Reschedule all Sessions to move every upcoming session to the new time. Your students are notified.
- Cancel: you can cancel a single session from the same menu.
- Add more sessions: use Add Session on the calendar for an extra Q&A or a bonus workshop.
Tip: use the first five minutes of session one to tell everyone how the class works, when assignments are due, and that questions go in the group chat.
Step 4: Set your first assignment
Learning sticks when students do something with it. Go to the Classwork tab and click Add Classwork:
- Question: what you’re asking.
- Instructions: the details, written in the rich-text editor.
- Response Type:
- Single Choice or Multiple Choice for quick quizzes (add at least two options).
- Text for written answers. Students can also attach a file, such as an image or a PDF of their work.
- Grading Point: turn this on to grade the assignment out of 100 points.
- Due Date: optional, but recommended. Once it passes, students can no longer submit.
Students see the assignment as Assigned in their Classwork list. They answer and click Submit Response, and it changes to Submitted. If they change their mind before you grade it, they can cancel the submission and send a new one.
Each assignment also has a Class Comments thread. Anyone in the class can ask a question there, and everyone sees the answer.
Step 5: Grade the work
Open the assignment and go to Student Submissions. You’ll see every student who submitted, with their current score.
Click a student to see their answer, the options they picked, or the file they attached. Enter a grade from 0 to 100 and click Grade Student.
The student’s assignment changes to Graded and shows their score, for example 85/100. Every grade also shows in their Submission tab and on their profile in your Students tab, so you can see how each student is doing across the whole class.
Tip: grade within a couple of days. Quick grades keep students motivated, and a short note in the group chat (“Great work on this week’s brief: most of you nailed the colour palette, watch your spacing”) turns a number into real feedback.
Step 6: Bring the class to a close
Your last session is your chance to finish strong:
- Grade everything before the final session, so nobody is waiting on a score.
- Use the last session to review: go over the biggest lessons, answer remaining questions, and show off the best work (with permission).
- Thank your students in the group chat and tell them what’s next. That might be an advanced class, a digital product, or a 1:1 call for anyone who wants more help.
- Open your next class. Students who finished one class with you are the most likely to buy the next one. Create it before the last session so you can share the link while everyone is still excited.
What it costs
Creating a class is free. For paid classes, Skite keeps 5% + ₦50 per successful sale. There are no monthly subscriptions and no hidden fees. Your earnings go to your Skite wallet, and you can withdraw them to your bank account.
Your first class, in short
- Create the class: name, cover, schedule, price.
- Share your link and get students in.
- Start live sessions right inside Skite.
- Set assignments with due dates.
- Grade out of 100 and give feedback.
- Close strong and open your next class.
Ready? Go to Classes in your Skite dashboard and click Create New Class.
Ready to start earning?
Set up your Skite hub, launch your first offer, and get paid.
Get started for free